Processing-Tutorial: Kinetic Typography 1
By loading the video, you agree to YouTube’s privacy policy.
Learn more
In the last years i’ve observed a new tendency in typography and graphic design which has been made possible by the rise of affordable animation-software like Adobe After Effects, variable fonts and more accessible tools in Creative Coding: Kinetic Typography is the new kid in town, an umbrella term for moving, flexible typographic systems.
Some good examples: The whole work by DIA studio and the crazy cool AR-app “Weird Type” by Zach Lieberman.
In this tutorial i wanna show you a fancy approach on animating type. Our application will segment a simple lettering into rectangular pieces and shift each snippet slightly different on the horizontal axis. To do so, we will utilize a two-dimensional grid and put a sine-wave into it. Ready? Let’s go!


The copy()-function
If we want to copy the pixels of a defined area to another, the copy-function is the right tool for us. In its simplest form it takes 8 arguments: The first four integer-values define the area that we want to copy. The last four define the destination. For clarity I will use variables in this tutorial.
// SOURCE
int sx = 0;
int sy = 0;
int sw = 100;
int sh = 100;

// DESTINATION
int dx = 100;
int dy = 100;
int dw = 200;
int dh = 200;

copy(sx, sy, sw, sh, dx, dy, dw, dh);
To get the best results and prevent visual feedback, we can put another parameter in there, which defines the template, we want to copy the pixels from. So instead of getting the pixels directly from the sketch, we use another surface like an image or a PGraphics-object as a reference, which can be passed as an additional argument into the first place of the copy-function.
In the example above i copy an area of an PImage-surface to my sketch-window. The mouse-position controls the coordinates of the source.
int sx = mouseX+150;
int sy = mouseY+150;
int sw = 150;
int sh = 150;

// DESTINATION
int dx = width/2-125;
int dy = height/2-125;
int dw = 250;
int dh = 250;

copy(img, sx, sy, sw, sh, dx, dy, dw, dh);
In our kinetic type-experiment we wanna do exactly the same, but with multiple elements in a two-dimensional grid. Let’s wrap up the actual sketch to get going.
Preparing the sketch
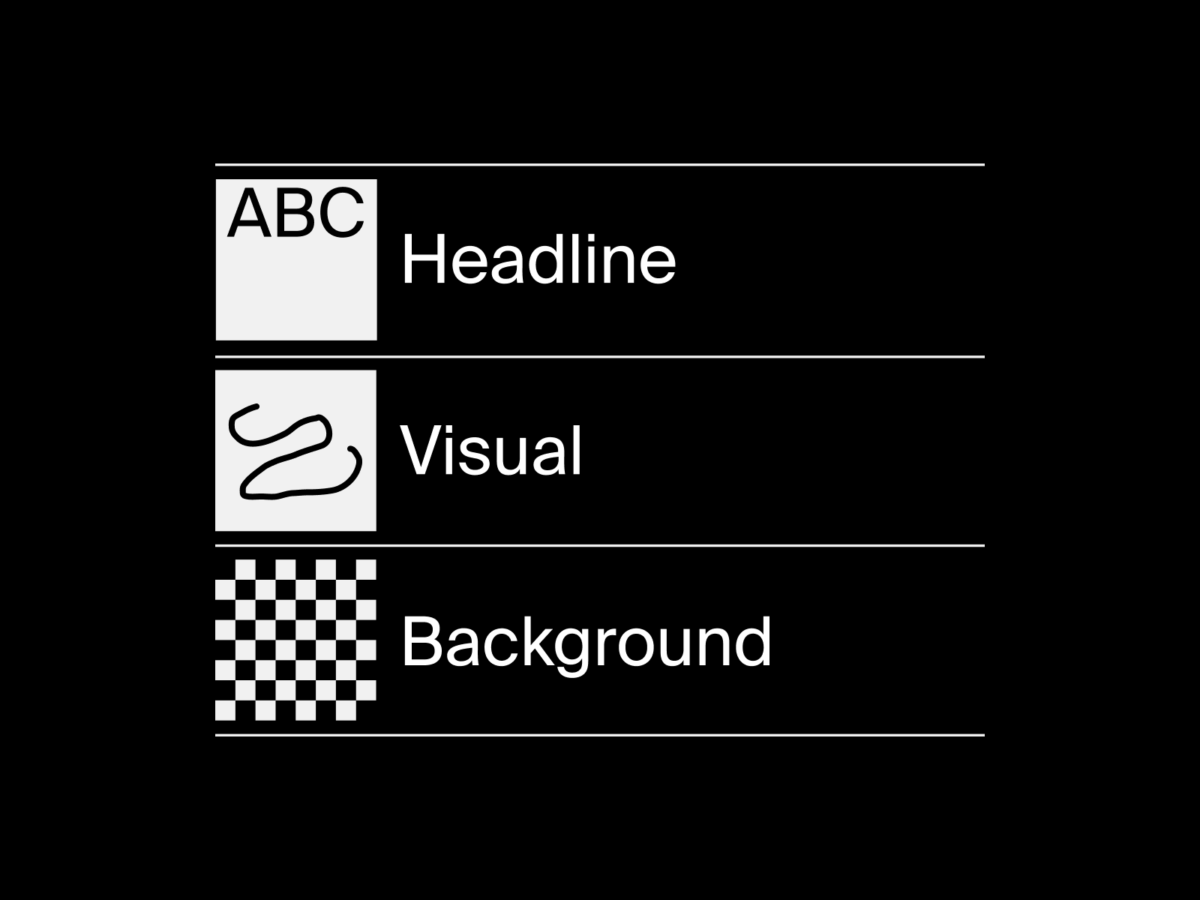
First we have to create and initialize the PGraphics-object we want to use as a template. Then we create and initialize a PFont. Note: Make sure that you’ve copied the font-file to the data-folder!
PGraphics pg;
PFont font;
void setup() {
  font = createFont("RobotoMono-Regular.ttf", 600);
  size(800, 800, P2D);
  pg = createGraphics(800, 800, P2D);
}
Next we put the lettering onto the PGraphics-element inside the draw-function and center it. Just in case you have never worked with PGraphics: It is comparable with a layer in Photoshop, so it can be treated as an independent sketch in our actual sketch. It is a very powerful tool to manage complexity and to crop things. As always: Look up the reference if you’re stuck here!
void draw() {
  background(0);
  pg.beginDraw();
  pg.background(0);
  pg.fill(255);
  pg.textFont(sansBlack);
  pg.textSize(800);
  pg.pushMatrix();
  pg.translate(width/2, height/2-215);
  pg.textAlign(CENTER, CENTER);
  pg.text("a", 0, 0);
  pg.popMatrix();
  pg.endDraw();
}
Now if we hit the run-button we won’t see anything, because we do not draw the PGraphics-element anyway. Let’s do this quickly using the image-function, so we can check if everything is sitting in the right place.
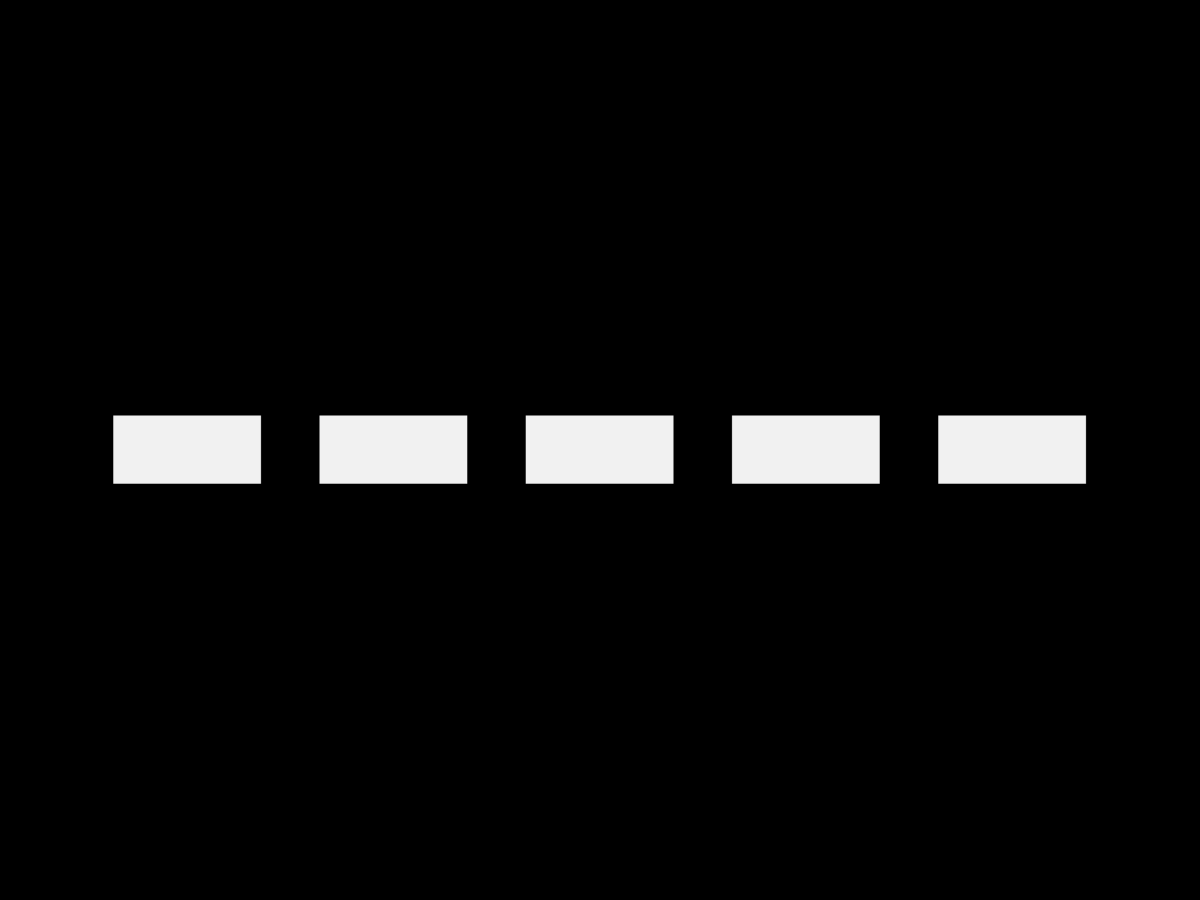
image(pg,0,0);So far so good. What we have to do now is wrapping up a two-dimensional for-loop to create a grid. But before we need to define the number of tiles that we want to get vertically and horizontally, which we can use to calculate the correct dimensions. Let’s start with 8 tiles on both on the x- and the y-axis.
  int tilesX = 8;
  int tilesY = 8;
  int tileW = int(width/tilesX);
  int tileH = int(height/tilesY);
  for (int y = 0; y < tilesY; y++) {
    for (int x = 0; x < tilesX; x++) {
      ...
    }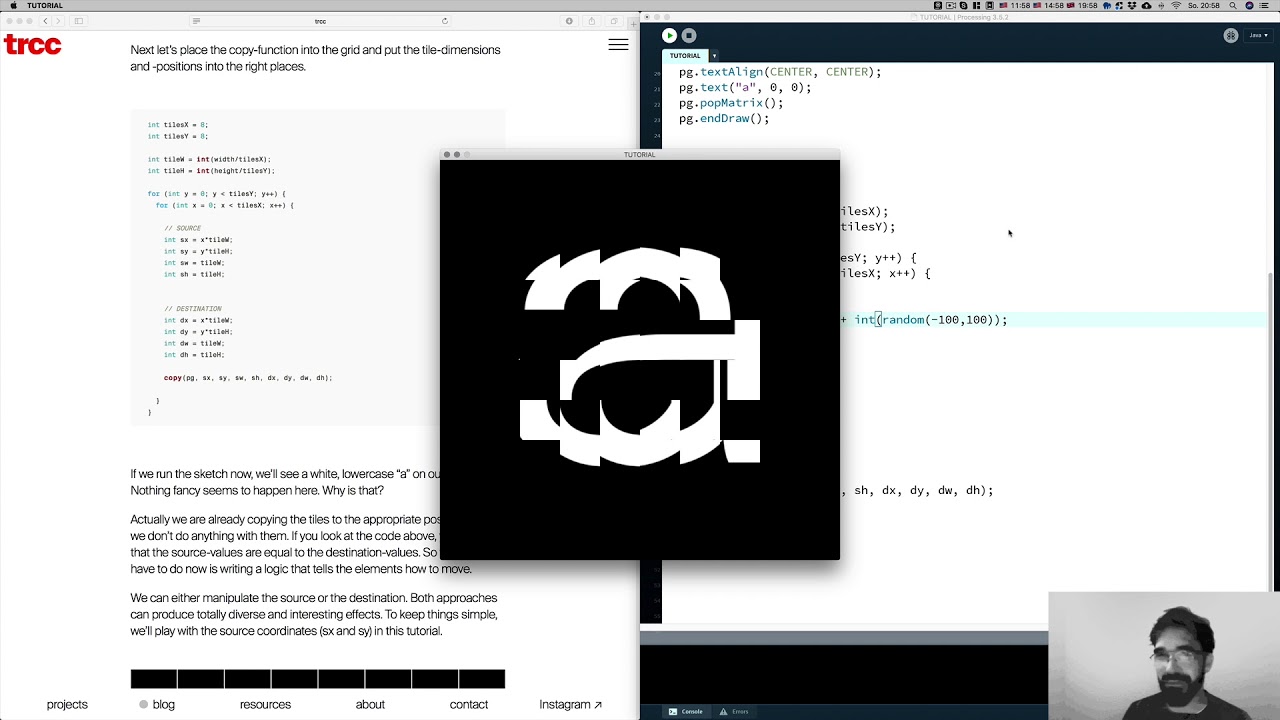
}Next let’s place the copy-function into the grid and put the tile-dimensions and -positions into the right places.
  int tilesX = 8;
  int tilesY = 8;
  int tileW = int(width/tilesX);
  int tileH = int(height/tilesY);
  for (int y = 0; y < tilesY; y++) {
    for (int x = 0; x < tilesX; x++) {
      // SOURCE
      int sx = x*tileW;
      int sy = y*tileH;
      int sw = tileW;
      int sh = tileH;
      // DESTINATION
      int dx = x*tileW;
      int dy = y*tileH;
      int dw = tileW;
      int dh = tileH;

      copy(pg, sx, sy, sw, sh, dx, dy, dw, dh);
    }
  }
If we run the sketch now, we’ll see a white, lowercase “a” on our window. Nothing fancy seems to happen here. Why is that?
Actually we are already copying the tiles to the appropriate positions, but we don’t do anything with them. If you look at the code above, you’ll see that the source-values are equal to the destination-values. So what we have to do now is writing a logic that tells the elements how to move.
We can either manipulate the source or the destination. Both approaches can produce totally diverse and interesting effects. To keep things simple, we’ll play with the source coordinates (sx and sy) in this tutorial.
Pushing a wave through the grid
Now it’s time to define a variable that represents the distortion-effect. That variable has to be inside of the nested for-loop and it has to differ slighty in each iteration. If the output of this variable is too chaotic, it will produce random-like effects. That’s not exactly what we want. Our aim is to get a smooth movement and that’s why we’ll use the sin()-function, controlled by the frameCount and the coordinates inside our loop.
int wave = int(sin(frameCount * 0.01 + ( x * y )) * 30);If you have never worked with the sin()-function yet, don’t worry. It produces a value between -1 and 1 and takes a number as an argument to control its phase. Look up the Processing-reference if you are stuck here. Understanding how waves work in Processing is extremely helpful for a variety of things, especially if you work on animations.
Last but not least we’ll mix the wave-variable into the source-x-coordinate.
int sx = x*tileW + wave;Here’s the complete code
PFont font;
PGraphics pg;
void setup() {
  font = createFont("RobotoMono-Regular.ttf", 600);
  size(800, 800, P2D);
  pg = createGraphics(800, 800, P2D);
}
void draw() {
  background(0);
  // PGraphics
  pg.beginDraw();
  pg.background(0);
  pg.fill(255);
  pg.textFont(font);
  pg.textSize(800);
  pg.pushMatrix();
  pg.translate(width/2, height/2-215);
  pg.textAlign(CENTER, CENTER);
  pg.text("a", 0, 0);
  pg.popMatrix();
  pg.endDraw();
  int tilesX = 16;
  int tilesY = 16;
  int tileW = int(width/tilesX);
  int tileH = int(height/tilesY);
  for (int y = 0; y < tilesY; y++) {
    for (int x = 0; x < tilesX; x++) {
      // WARP
      int wave = int(sin(frameCount * 0.05 + ( x * y ) * 0.07) * 100);
      // SOURCE
      int sx = x*tileW + wave;
      int sy = y*tileH;
      int sw = tileW;
      int sh = tileH;
      // DESTINATION
      int dx = x*tileW;
      int dy = y*tileH;
      int dw = tileW;
      int dh = tileH;

      copy(pg, sx, sy, sw, sh, dx, dy, dw, dh);
    }
  }
}
That’s it!
We’re done – Happy coding!
Related
 Preview: Random Compositions
One of the most exciting and maybe even unsettling discoveries in the learning process of Creative Coding in Graphic Design […]
 Getting started with Processing
Please note: This blogpost is currently in development While in p5.js there is a relatively confusing array of ways to […]
 Three ways to work with p5.js
When the first alpha release of p5.js appeared in July 2014, it kicked off a hugely important development for the […]
 I challenged Daniel Shiffman and here’s his response
This year I donated $700 to the Processing Foundation to support people who care about the development of the projects. […]
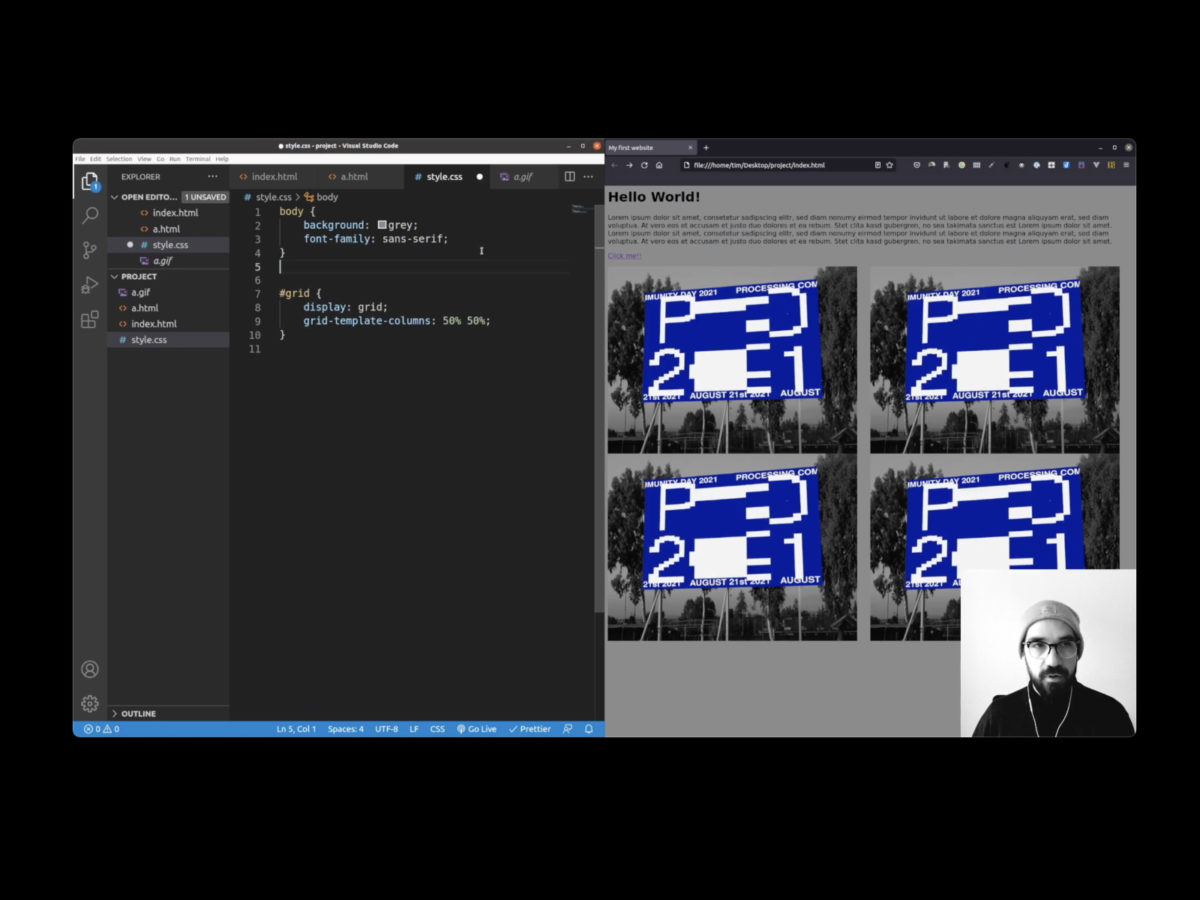 How to write a simple HTML-Document
Hi folks! ☀️🖐️ I hope you are doing well! For a few months now I’ve been working on the question […]
 How to work with Layers in Processing?
Hello people, here comes a new session for you. This time I’ll explain how you can work with layers in […]
 Rhythm Studies
This session shows a possible solution for the assignment Rhythm Studies from my course Bauhaus Coding Workshop.