Bauhaus 101 – A beginners Processing Tutorial
By loading the video, you agree to YouTube’s privacy policy.
Learn more
Hi and welcome to this very condensed and quick tutorial that aims to get you amazed for Creative Coding in less than 10 minutes. It is sponsored by an initiative called “sharing bauhaus”. For more infos and tutorials head to this youtube-channel.
In this tutorial i will show you how to create a simple geometric animation with Processing. I will put three basic geometric shapes onto the canvas and animate their position with a sinewave.
Getting started
Processing is a free programming-language for designers and artists and it comes with a a dedicated code-editor. It works on all platforms and from my point of view it is simply the best choice for anyone who wants to learn programming.
Just head to processing.org and download the software. Once saved on your computer you can start it by clicking the app-icon.
General Setup
I’ll begin by creating the setup and the draw-function. Setup saves all setting (like the size for the sketch) and draw describes what happens over time. Let’s the define the size of the sketch to be 900*900 pixels.
void setup(){
size(900,900);
}
void draw(){
}Styling the shapes
Now i apply some styling to the sketch. With the following code i define that all shapes shall be transparent but have a border with a border of 4 pixels. stroke(#f1f1f1) defines the color of the stroke to be almost white.
void setup(){
size(900,900);
}
void draw(){
rectMode(CENTER);
stroke(#f1f1f1);
strokeWeight(4);
noFill();
}Displaying the Square and the Circle
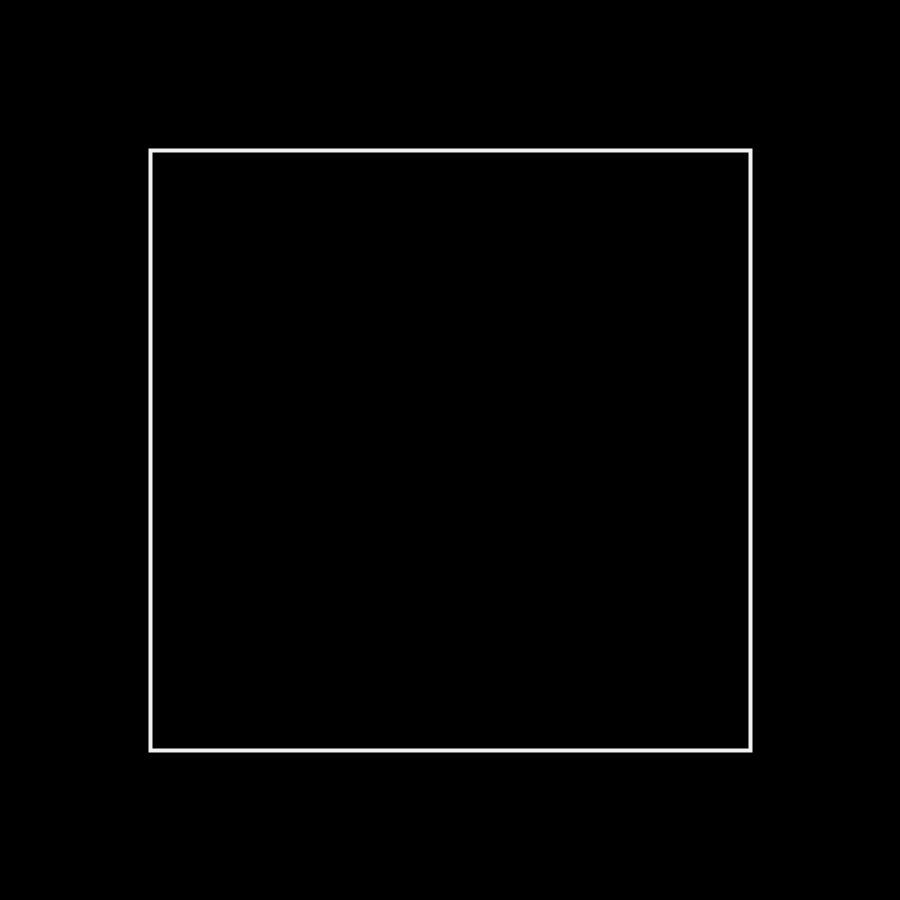
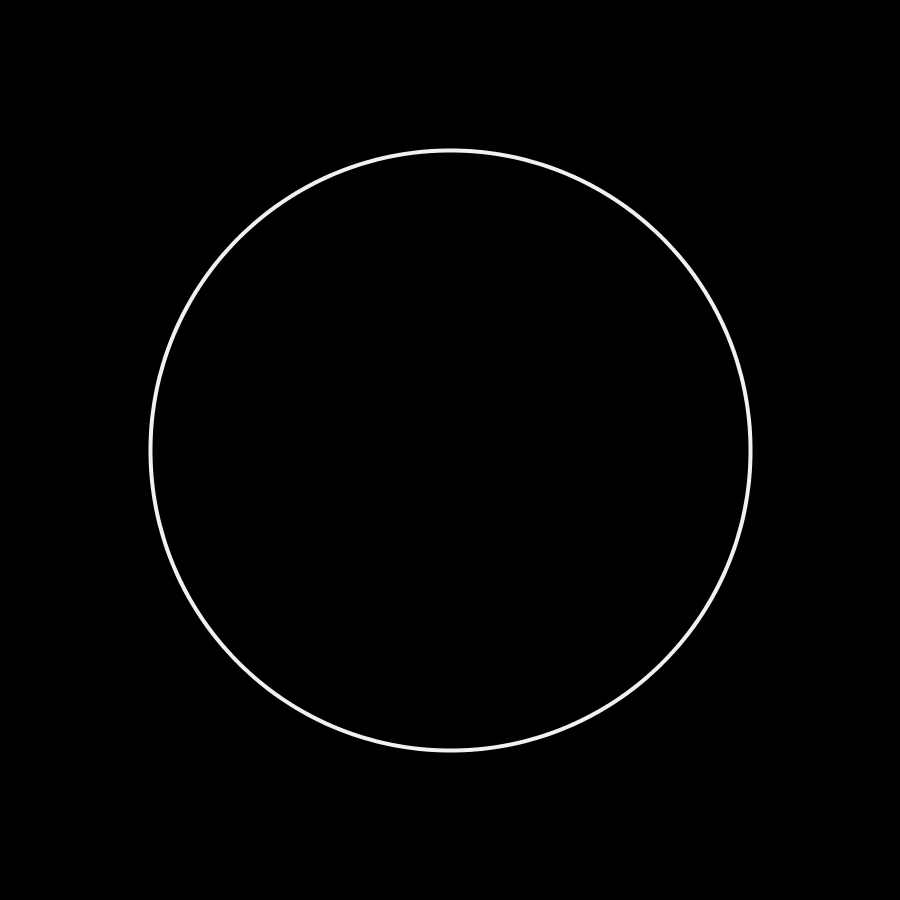
Now the sketch is prepared to drop some shapes onto the canvas. There are dozens of different functions to display geometric shapes in Processing. I will now use two of them: rect() and ellipse(). Both receive exactly the same parameters which tell the function what kind of shape shall be displayed.
The first parameter defines the horizontal position of the shape, the second one defines the vertical position. Parameters 3 and 4 defines the width and the height.
void draw() {
   background(0);
   rectMode(CENTER);
   stroke(#f1f1f1);
   strokeWeight(4);
   noFill();

   rect(450, 450, 600, 600);
   ellipse(450, 450, 600, 600);
}
Displaying the Triangle

Triangles are more complex geometric shapes that require a different approach on how to define and display them. A triangle consists of 3 vector-points and each one has an individual position based on an x and a y-value. That’s why the triangle-function receives 6 parameters:
x1, y1, x2, y2, x3, y3
triangle(0, -300, 300, 300, -300, 300);
To get a better overview, i’ll store all values into variables.
float x1 = 0;
float y1 = -300;
float x2 = 300;
float y2 = 300;
float x3 = -300;
float y3 = 300;
triangle(x1, y1, x2, y2, x3, y3);
Unfortunately the triangle is now positioned at the top-left of the sketch-window, but i want the shape to be displayed in the center of it. I’ll solve this problem by creating a new matrix with push() and pop(). Then i will translate it to the center with translate().
push();
translate(450, 450);
float x1 = 0;
float y1 = -300;
float x2 = 300;
float y2 = 300;
float x3 = -300;
float y3 = 300;
triangle(x1, y1, x2, y2, x3, y3);
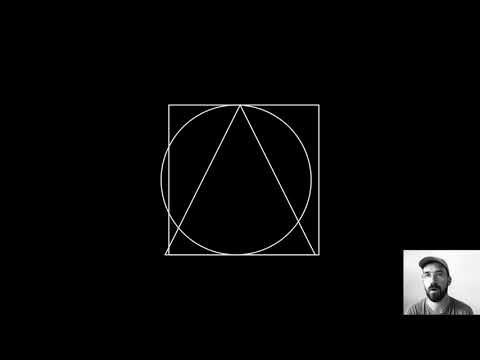
pop();This is my draw-loop. Note that the triangle is positioned between the square and the circle.
void draw() {
// set the sketches background to black
background(0);
// center rectangles in general
rectMode(CENTER);
// set the stroke properties
stroke(#f1f1f1);
strokeWeight(4);
// transparent
noFill();
// draw the square
rect(450, 450, 600, 600);
// open a new matrix
push();
// translate it to the center
translate(450, 450);
// defines parameters for the triangle
float x1 = 0;
float y1 = -300;
float x2 = 300;
float y2 = 300;
float x3 = -300;
float y3 = 300;
// draw the triangle
triangle(x1, y1, x2, y2, x3, y3);
// close the matrix
pop();
// draw the circle
ellipse(450, 450, 600, 600);
}
Creating a wave
Now the sketch is ready to get animated. My prefered method to this is to utilize a sinewave. For that purpose there’s the sin()-function available in Processing.
The sin()-function generates a value between -1 and 1 and it receives a parameter that defines the phase of the wave. I mosty use the predfined frameCount-variable for that.
float wave = sin(frameCount);This is much too fast for this purpose, so that’s why i have to slow down the wave by multiplying the frameCount with a value smaller than 1.
float wave = sin(frameCount * 0.01);Now it is time to define the magnitude of the wave. This can easily be done by multiplying the wave.
float wave = sin(frameCount * 0.01) * 450;Great! Now we have a variable that changes over the runtime of the sketch and which oscillates slowly between -450 and 450. Time to apply this variabel to the x-position of the rectangle and the ellipse in our little application.
Animation
The variable called wave can now easily be applied to the positions of the geometric shapes. This can be done by adding or subtracting the wave-variable to any of the position-parameters of the rect() and the ellipse()-function. I have decided to keep the triangle standing still and to move the square and the circle into opposite directions.
void setup() {
size(900, 900);
}
void draw() {
background(0);
rectMode(CENTER);
stroke(#f1f1f1);
strokeWeight(4);
noFill();
float wave = sin(frameCount * 0.01) * 450;
// Add the wave to the x-position
rect(width/2 + wave, height/2, 600, 600);
push();
translate(width/2, height/2);
float x1 = 0;
float y1 = -300;
float x2 = 300;
float y2 = 300;
float x3 = -300;
float y3 = 300;
triangle(x1, y1, x2, y2, x3, y3);
pop();
// subtract the wave-value from the x-position
ellipse(width/2 - wave, height/2, 600, 600);
}With this setup you can start experimenting and to create many different variations with this flexible visual system.
Great, that’s it for now! If you like to dive deeper into Processing, check out my course Creative Coding Essentials.
Enjoy!
Related Links
Related
 Preview: Random Compositions
One of the most exciting and maybe even unsettling discoveries in the learning process of Creative Coding in Graphic Design […]
 Getting started with Processing
Please note: This blogpost is currently in development While in p5.js there is a relatively confusing array of ways to […]
 Three ways to work with p5.js
When the first alpha release of p5.js appeared in July 2014, it kicked off a hugely important development for the […]
 I challenged Daniel Shiffman and here’s his response
This year I donated $700 to the Processing Foundation to support people who care about the development of the projects. […]
 How to write a simple HTML-Document
Hi folks! ☀️🖐️ I hope you are doing well! For a few months now I’ve been working on the question […]
 How to work with Layers in Processing?
Hello people, here comes a new session for you. This time I’ll explain how you can work with layers in […]
 Rhythm Studies
This session shows a possible solution for the assignment Rhythm Studies from my course Bauhaus Coding Workshop.